Showing posts with label homemade. Show all posts

Monday, February 11, 2013

Valentine's Day: Homemade Baskets & Gifts II

Valentine's Day, just as it is with Christmas, is a holiday where we give to others.  I take out the 'so called' commercialism and how the card company (why not) are making money on us and just think of giving to those I love and appreciate.  Bugg agrees with me...


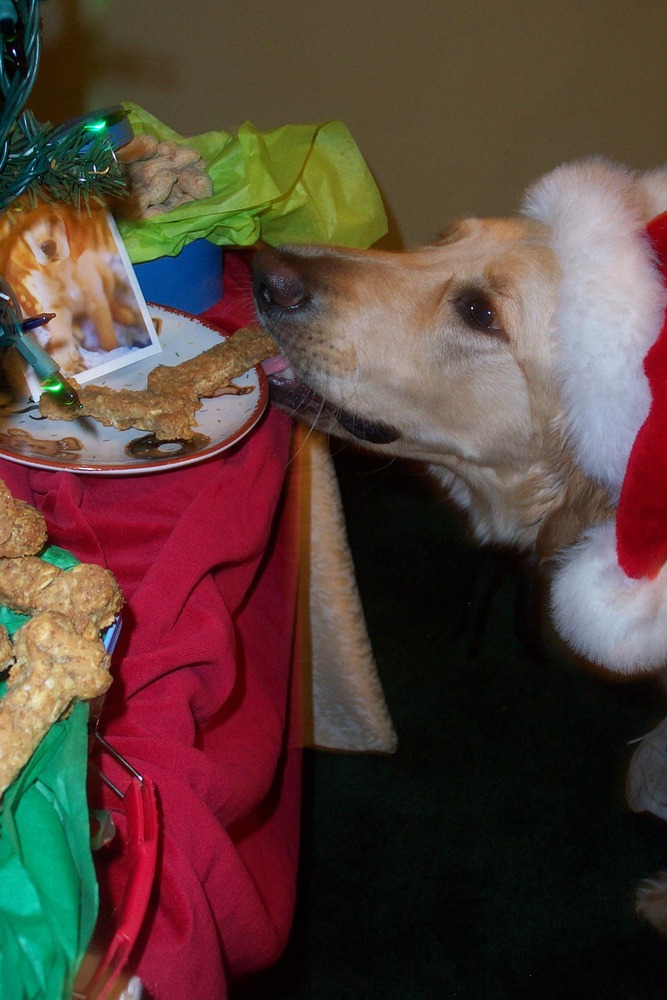
Bugg loves to give


Make 'it' More...

I am going to demonstrate how to put together a Valentine basket, once you know the basics, then you will be able to master this easy craft and no longer pay 'way' too much for your next gift basket you will share with someone special.

I can not express enough how important it is to buy special occasion decorations right after that occasion, then you are able to get items for 60% off, on up.

If you are buying it just straight out, in the height of the holiday, these two baskets will not even break the bank.  Actually making these two baskets will cost less than one gift basket you will buy.  Plus it is not full of filler, just tasty treats.

What you will need...

2 plastic heart baskets ( I purchased mine at the dollar store, 2 for $1)
1 package (6 count) red treat boxes
1 package decorated Valentine (or any occasion) treat baggies
1 package red velvet hearts
12 lunch baggies
1 package clear basket cover bags (there will be 12 in the bag, you only need 2)
Tape (I use duct tape, it is much more sturdy & it comes in all kinds of colors and prints)
Scissors
Yarn
Ribbons
Bows
Cookies

We're Off!


Take all your boxes out and fold them, the decoration will be on the package and make sure to place some tape on the bottom of the boxes, so as to make the boxes a bit more sturdy.

Place two sheets of tissue paper in each basket.  The best place I have found to get tissue paper is at the dollar store.  They usually have all the colors and patterns you will need and a bit cheaper than if you bought the same paper in a craft store.

Start Packing! 


You will need 3 boxes for each basket, so make the decision which cookies you are going to use for each basket.  I used the less decorative cookies in the two bottom boxes.

Place 3 to 4 cookies in a sandwich baggie and place inside of your red box.  Make sure the handles are able to close very easily.

Bend the handles down and place some tape on the handles so the box is closed.  Then roll a piece of duct tape on one side of the box.

Remember, we want to pack as many goodies in this basket as you can, there is nothing worse than to get a basket and half of it is a bunch of paper and 'empty' cardboard boxes.  Your boxes are full.

Stuff It! 


Take your first box filled with cookies and place it in your basket, tape side down.  Make sure to push down  hard on the first box but, not so hard that you will break the cookies inside.

Repeat with your second box and place it on top of the bottom box.  Make sure it is as centered as you are able to get it.  Also try to make sure the second box is even, so when you top it with your top box, your top box does not lean, if need be, use more tape.

The Tops


Now take one of your treat bags and line up your cookies, so they will look pretty, take the tie that comes with the bag and twist the cookies tight.

I find if I place the cookies how I want them, I then twist them up tight.  I use the table as a second hand, I am able to place the tie at the bottom of the cookies, so much easier and it is more secure.

Take the tail of the excess treat bag and stuff it into the third red box, place some tape at the bottom of your box and place the box (standing up) on top of the second box, you have already placed in your basket.

Bag the Pretties 

I saved the heart cookies or just save the best cookies for last.  Once again decide which position looks the best.

I will take the bag after I have decided I like how it looks in the bag and hold it up to the basket, see how it looks.  At times it looks great but, at times I need to adjust the cookies.

I am sure you have noticed I went back to the clear sandwich baggies.

I did this because the heart shaped cookies look great all by themselves, they don't need any added decorations, they are pretty on their own.

After you have gotten your cookies placed how you like them, then once again twist the baggie as tight as you are able to and then tie some yarn around the bottom of the cookies, using the table as an extra hand.

Tuck one in the front of the basket and one bag of cookies on each side of the boxes, tucking (gently) and moving here and there until you are satisfied in how it looks.

Basket full of Goodness...


Now place the red velvet hearts on each side of the center box, towards the back.  Get one of your clear basket covers and cover the basket.  You might have to mess with the tissue a bit.  Before tying off the cover, stand back and see how it looks, if you are satisfied, grab your yarn, a helper and tie it closed, very tight.

Then add what bow/bows and ribbon you like, then you are done, it is as easy as that.  This basket can be made for any occasion.  By all means add your own goodies inside, candy, cookies or a hidden present.  I promise you, the one that gets this basket, will have been given a gift they will treasure and never forget.

Valentine's Day: Part I
Valentine's Day: III

Valentine's Day Massacre:  NOT!

All photographs are the property of Denise O.  Do not use unless you get 'my' written permission. All written material is owned by Denise O, it will not be 'used' (sharing my article is different, it is acceptable and appreciated) without 'my' written permission.  Just keeping it real folks.:)

Wednesday, April 11, 2012

Pain Remedy: Bath Pillow: Done Mama's Way!

Those of us with Muscle diseases and those with chronic pain know that, a good hot bath can ease our muscles pain away.  But, if you do not have the right 'bath' pillow, what good does it really do, may I ask?

What?!?!

Is this how you look after taking a (supposedly) hot soothing bath. As you ease down into that hot water, your muscles already start to fill better.  Then you place your head on the last (already tried most) bath pillow you decided to give a try and there you lay, neck bent, as it lays up against that bath pillow, the pressure does nothing to help you combat that pain.

Why not get a pillow that floats in the water and takes that pressure off of your neck and shoulders.

I have been living with chronic myofascial pain for over 23 years.  I have tried a lot of gizmos/gadgets/tips on the hopes that it would help me have a more productive and enjoyable life.

This is one of the tools in my arsenal...

My Ahhh-Ha Moments

Some years back I had taken my kids to the swimming and as I was sitting in the sun watching them playing around in the pool, floating one more than one noodle floatie and that was when it struck me.  Why not make a bath pillow out of the noodle floatie, it might work so.

I went home and cut down a floatie to fit my bath tub and I must admit, it was the most relaxing bath I have ever had and I have yet to take a bath without this one tool in my arsenal, to combat the daily pain I live with.

CUT UP!


The best tool for this job is a serrated knife, it will cut through your noodle floatie with ease.  You want to cut  your floatie so you will have a inch of space between the floatie and the sides of your tub.  This way your head will be floatng in the water and that will relieve the pressure you get from most bath pillows.  Store your floatie in a place where it is able to dry out, as moisture can cause bacteria to develop and that is not a good thing.

My Bath Recipe... 

2 cups of epsom salt 1/2 cup of batherapy with lavender.  Pour your epsom salt into your bath tub while the water is running, this will help dissolve the salt.

Then I add my batherapy after the tub is half full of water and then mix the water with your hand so as to combine all your bath ingredients.

I like my bath water to be hot and hotter the better but, this is your bath, so adjust the temperature so as to fit your likes.

Remember:  This is your bath & time, so have it your way.

Ease On down 


I place my foatie in my bath tub, where my head will be and I slowly ease on down.  I lay on my side, place the pillow under my neck and then I turn on my back.  Yes, it will take a few adjustments to get your 'new' bath pillow just right but, you will get the hang of it in no time.  Make sure to place the pillow right under the back of your neck.

You will amazed just how relaxing this bath pillow is and talk about cheap, my noodle floatie cost me one dollar.

The fact that your head is floating freely and not pressed up against the back of your tub, will allow your body to freely float and not add a bit of pressure.  Yes folks, after one use, you will never again be on the search for the best ever bath pillow, you have already found it.

Now, That' More Like It


So now you have learned my secret on how to have the most relaxing bath you have ever had and so please share this secrets with those you love, they will appreciate you even more so.  That is after they think you are nuts by just suggesting this idea.

After using your new bath pillow you too will have a smile on your face, just as my grandson did after his floatie (Mommy) craddles his neck while he was having his bath time.

Do not:  Use this floatie on infants/children.  Using this photograph of my grandson, was to show, just how relaxed you should look and feel, after finding out my secret of the best bath pillow out there you will ever find.

Another tool in my arsenal to combat muscle pain...


At times, just a good hard laugh will take away a lot of your woes...

Our (My) Company, Our (My) Employees & the Alabama Scanner
All photographs are the property of Denise O.  Do not use unless you get 'my' written permission. All written material is owned by Denise O, it will not be 'used' (sharing my article is different, it is acceptable and appreciated) without 'my' written permission.  Just keeping it real folks.:)