Thursday, February 14, 2013

Vegetarian Collard Greens: Done Mama's Way!

I do admit that I use to make my collard greens with some kind of pork added to them for flavor but, then I experimented with this dish and came up with a delicious yet healthier version.  Why not.


It's Easy...

Nothing can intimidate a cook more than trying to make some collard greens, yet it is a very simple process once you have learned just how to make this lovely pot of deliciousness.  There are just as many recipes as there are people that cook collard greens.  

Yes this is a vegetarian recipe and you might turn your nose up to that very fact but, I promise you if you make them my way, you too will have your family sopping up that pot liquor with a nice biscuit, as they finish up that bowl of greens you placed in front of them.

Ingredients...

4 pounds collard greens (fresh)
2 onions
1 bell pepper (red, yellow or orange)
3 stalks of celery
2 (Large) carrots
6 tablespoon olive oil
6 garlic cloves
3 teaspoons kosher salt
1 1/2 teaspoon smoked (sweet) paprika
1 1/2 teaspoons fresh cracked black pepper
1 bay leaf
2 tablespoons honey
A pinch or two of red pepper flakes

Wash those Greens 

When you get your bunches of collard greens home, cut off the bottom stems, leaving only the leaves.  Fill a 'cleaned' out sink (or use a 'big' bowl) with cold water, add your collard green leaves.  

I think of my hand as a washing machine and I start the rinse cycle on these greens, making sure I get all the dirt off.  You might have to drain your water and repeat this process if they are really dirty, as most are.

Cut UP

As I am removing my collard greens from the sink, I stack them in a neat pile, this will help when you go to cut them up.  

After you have stacked your collard greens, you then want to cut most of the stem and the (thick) vein that runs through your greens off.

Do this to each and every leaf but, as you start to get to the middle of your collards you will notice you have a few small leaves with hardly any stem.  

Don't worry about removing those stems, just lay them on the stack of those you have already taken the stems and veins out of.

Roll & Slice 

Yes as I am taking the stems and veins out of each leaf I stack them in another pile and I make the pile as net as I am able to.  This will help with this next step you are about to take.

Take about 5 leaves as a time, roll them up and cut cross ways, about one inch thick, repeat this process until you have finished all of your collard green leaves and set aside.

I am sure you will be amazed just how much of these greens you have after cutting them all up but, they will shrink down while cooking and you then will be amazed how little you have after they are cooked.

Did I hear "Veggies!" 

Slice your carrots into 1/2 inch rounds.

Dice your celery in a medium dice.  

Dice your onions in a medium dice.

Peel your garlic cloves cut in half, saving one whole for later usage.

Cut your bell pepper into strips. 

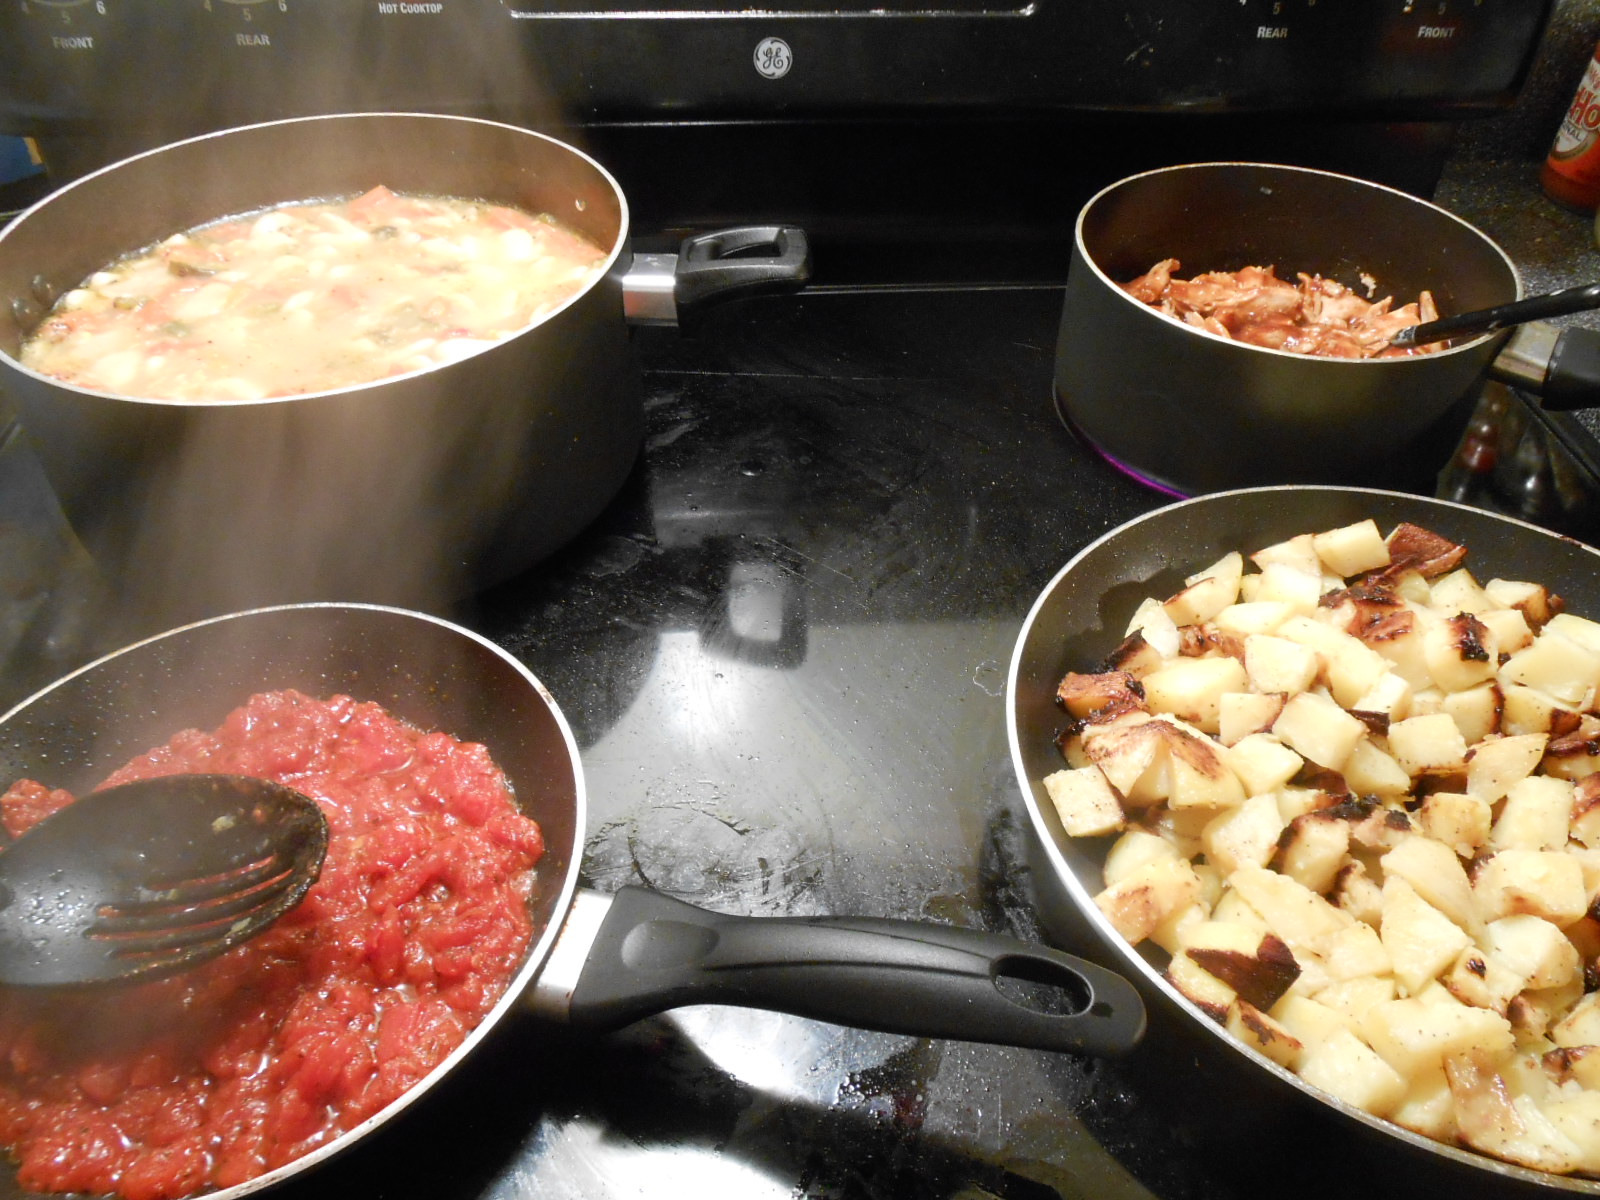
In a big frying pan, place 2 tablespoons of olive oil and then add your (minus garlic cloves) vegetables.  

Saute until they are soft but not to the point of turning brown.  Then add your garlic cloves and half your salt and saute for one minute.

Bundle UP 


Cheesecloth, you just gotta love this stuff, what a better way to add flavor and yet those worn out vegetables will be easy to take out.  At times it is so frustrating looking for that one bay leaf you pot in your pot of goodies, this way, you just scoop one bag out and no hiding seek is played on you.

Place your collard greens into your crockpot, yes it will be overflowing but as I have stated before, they will shrink down.  On a plate, place a double layer of cheesecloth, place your cooked vegetables and 1 bay leaf on the cheesecloth and then tie it off.  Grab the corner of one side of your cheesecloth and then the opposite side, tie up and repeat with the other two corners.  Place the bundle into your crockpot.

Flavor Town 

In the same (big) frying pan you saute'd your vegetables, on medium heat, add 2 tablespoons of olive oil.  

When the oil is hot add your whole garlic clove, paprika, cracked black pepper, pepper flakes and the rest of your salt, saute for about one minute. 

After one minute is up add three quarts of water and your honey, allow the water to come to a boil and then ladle the broth over your collard greens. 

I know you might be thinking, why not just pour the juice over it well, I use the ladle so I can control the flow of juice, I have a lot of collard greens in the pot and I want to make sure I am hitting all side of the crockpot, so as to shrink the greens down a bit, so the lid will fit just right.

Place your crockpot on high for 1 hour, stir your greens and then lower the temperature and cook on low for 6 hours.  After the 6 hours take out your cheesecloth, taste.  If it needs more salt or pepper, this is the time to add it.

That Easy folks


Yes, it is just that easy and delicious, oh lordy are they good.  Us folks here in the south call the broth that the collards, vegetables and spices 'pot liquor'.  So when you dish you up a bowl of these delicious collards, add some of that pot liquor to your bowl, I am sure you too will be sopping that goodness up.

Here are a few more of my vegetarian recipes...

Southern Style:  Boiled Peanuts

Potato Salad:  Done Mama's Way!

Vegetarian Eggplant Parmesan 

All photographs are the property of Denise O.  Do not use unless you get 'my' written permission. All written material is owned by Denise O, it will not be 'used' (sharing my article is different, it is acceptable and appreciated) without 'my' written permission.  Just keeping it real folks.:)

Tuesday, February 12, 2013

Valentine's Day: Baskets & Gifts III

Yes they might be all grown up to many but, not to us parents.  I love sending my daughter packages, she now lives in Texas and of course, I live in Alabama.  I want to send more than just a card, as she is that important to me.


I could just...

Throw all these goodies into a box and be done with it but, that is just not my style and also, I love her too much to do just that.

With a few inexpensive packaging, your gift will bring so much love, they are reassured that yes, you do love them, they are and will always be special to you.

Can one package do that, you bet your last bottom dollar it will.

I would like to point out one important suggestion...

Buy these holiday boxes, paper and decorations a day or two after the holiday is over, the savings is tremendous, from 60% off and on up.

Make 'it' Pretty Folks


Okay, I admit it, I did buy a bunch of hair accessories in the clearance bin, I tried to take off the stickers but, I had ripped off half the paper while doing so.

How I combated this problem was, I had taken the hair accessories out of the package.  I then placed them into these adorable Valentine small Chinese take out containers.  After I placed 1/4 of a Valentine theme napkin inside and then closed them up.

I also placed a small bear globe (bears are 1 of her favorite things) into one of those Chinese take out containers, for extra protection.

I will add her Valentine light up ring in her Valentine cup and then stuff her frogs (Also one of her favorite things) inside of the cup, leaving the head exposed.  We are saving space here folks.  Mama taught me how to pack things many of years ago.  Mama being a wife to one in the AF and traveling around the world, you learn a thing or two about packing.  No empty spaces should be in any box, or you just have too big of a box.

Stuff IT!


When stuffing their sweet Valentine's gifts into their box, think of how it will look when they open it, is it just thrown in, or did you take the time to place their goodies just so.  So as it puts a smile on their face as soon as they open your package of love you sent them, if not, re-pack.  It really means a lot, first impressions folks, can make or break it all.

I then placed a little extra napkins surrounding her bear globe, I will lay the rest of the package of Valentine napkins on top of this masterpiece, then a few bags of popcorn on top of those napkins and then all my space is taken up.  As she pulls back the popcorn and napkins, she will see a package made with love.

Why the popcorn might you ask, well my theme for her and her husband is movie night, yes I placed a few DVD's inside and other than the trinkets I picked up for her, the rest is a romantic movies night package for them to enjoy.

If You Don't Mind...

I was once challenged (dared) to try and write a poem.  Although it is a simple poem, I am sure you too will see that the simple things in life, the day to day grind, is not so bad. Especially when you have ones you love in your world.

Pictures of Life...

Just might be...

A child looking us in the eye,

as he smiles so sweetly.

All we have to do is open our eyes and we will see...

beauty surround us,

you and me.

Pictures of Life...


Will sometimes be, watching a dog being so carefree.  We just have to open our eyes and we will see pictures of life surround us, you and me.

Pictures of Life...

Just might be...

You son looking at you, with all the love...

Of a child of three.

All you must do is open your eyes,

I promise you will see...

Beauty surrounds us, you and me.

Pictures of Life...


Just might be, a brother working hard for his sister.  That would be me.  We should all look around and see, that we must open our eyes.  To you and me.

Pictures of Life... 


Just might be...

Your daughter and her husband making a life together...

and they 'let' you see.

If you don't look around, you will never see...

All the beauty that is surrounding...

You and me.


Pictures of Life...


Might not always be a picture you and I want to see but, if we don't open our eyes.  How can we see, if someone needs us, you and me.

Pictures of Life... 


Could also be...

The mother of my grandson handing him to me.

If we will not take off that lens cap...

How can we see...

What others do, for you and me.

Pictures of Life... 

The poem I just shared with you and me...

Might be a simple poem for you to read but...

I find 'simple' to be...

The most powerful word in the dictionary.

We just have to open our eyes and we will see.

That we have pictures of life...

That surround you and me.

Folks... 


I have taken the challenge, as you can see and even if it not a 'great' work of art, do you at least agree...

That the most powerful pictures in life are the simple ones...

To you and me.

All I am saying is, don't grumble as you buy a gift for the one you love on Valentines day, instead look around at the pictures the ones you love give you.  I am sure you too will stop and remember, just how important they are to you.

Why not!

My wonderful husband will be working on Valentine's day and this woman will not be awake to serve him bed in breakfast at six in the morning.

After you have been together for over two decades, you both are allowed to sleep in, it is a law or something.

Also, we are smart enough to know that Valentine's Day is more than just one day a year, when you are in love.

So since Dan will be working, I decided to make a quiche for him, he will grab a few pieces and off to work he will go.

Well, I do have 364 more days until next Valentine's Day to make it up.

BUT.... 


If you have the time, make a good size breakfast you can share and do not forget a few pieces of chocolate, it will set the ambiance and who knows what might happen.

Happy Valentine's Day!

Valentine's Day: I
Valentine's Day: II

Baked Potato Quiche:  Mama's Got 'it' Loaded!

All photographs are the property of Denise O.  Do not use unless you get 'my' written permission. All written material is owned by Denise O, it will not be 'used' (sharing my article is different, it is acceptable and appreciated) without 'my' written permission.  Just keeping it real folks.:)

Monday, February 11, 2013

Valentine's Day: Homemade Baskets & Gifts II

Valentine's Day, just as it is with Christmas, is a holiday where we give to others.  I take out the 'so called' commercialism and how the card company (why not) are making money on us and just think of giving to those I love and appreciate.  Bugg agrees with me...


Bugg loves to give


Make 'it' More...

I am going to demonstrate how to put together a Valentine basket, once you know the basics, then you will be able to master this easy craft and no longer pay 'way' too much for your next gift basket you will share with someone special.

I can not express enough how important it is to buy special occasion decorations right after that occasion, then you are able to get items for 60% off, on up.

If you are buying it just straight out, in the height of the holiday, these two baskets will not even break the bank.  Actually making these two baskets will cost less than one gift basket you will buy.  Plus it is not full of filler, just tasty treats.

What you will need...

2 plastic heart baskets ( I purchased mine at the dollar store, 2 for $1)
1 package (6 count) red treat boxes
1 package decorated Valentine (or any occasion) treat baggies
1 package red velvet hearts
12 lunch baggies
1 package clear basket cover bags (there will be 12 in the bag, you only need 2)
Tape (I use duct tape, it is much more sturdy & it comes in all kinds of colors and prints)
Scissors
Yarn
Ribbons
Bows
Cookies

We're Off!


Take all your boxes out and fold them, the decoration will be on the package and make sure to place some tape on the bottom of the boxes, so as to make the boxes a bit more sturdy.

Place two sheets of tissue paper in each basket.  The best place I have found to get tissue paper is at the dollar store.  They usually have all the colors and patterns you will need and a bit cheaper than if you bought the same paper in a craft store.

Start Packing! 


You will need 3 boxes for each basket, so make the decision which cookies you are going to use for each basket.  I used the less decorative cookies in the two bottom boxes.

Place 3 to 4 cookies in a sandwich baggie and place inside of your red box.  Make sure the handles are able to close very easily.

Bend the handles down and place some tape on the handles so the box is closed.  Then roll a piece of duct tape on one side of the box.

Remember, we want to pack as many goodies in this basket as you can, there is nothing worse than to get a basket and half of it is a bunch of paper and 'empty' cardboard boxes.  Your boxes are full.

Stuff It! 


Take your first box filled with cookies and place it in your basket, tape side down.  Make sure to push down  hard on the first box but, not so hard that you will break the cookies inside.

Repeat with your second box and place it on top of the bottom box.  Make sure it is as centered as you are able to get it.  Also try to make sure the second box is even, so when you top it with your top box, your top box does not lean, if need be, use more tape.

The Tops


Now take one of your treat bags and line up your cookies, so they will look pretty, take the tie that comes with the bag and twist the cookies tight.

I find if I place the cookies how I want them, I then twist them up tight.  I use the table as a second hand, I am able to place the tie at the bottom of the cookies, so much easier and it is more secure.

Take the tail of the excess treat bag and stuff it into the third red box, place some tape at the bottom of your box and place the box (standing up) on top of the second box, you have already placed in your basket.

Bag the Pretties 

I saved the heart cookies or just save the best cookies for last.  Once again decide which position looks the best.

I will take the bag after I have decided I like how it looks in the bag and hold it up to the basket, see how it looks.  At times it looks great but, at times I need to adjust the cookies.

I am sure you have noticed I went back to the clear sandwich baggies.

I did this because the heart shaped cookies look great all by themselves, they don't need any added decorations, they are pretty on their own.

After you have gotten your cookies placed how you like them, then once again twist the baggie as tight as you are able to and then tie some yarn around the bottom of the cookies, using the table as an extra hand.

Tuck one in the front of the basket and one bag of cookies on each side of the boxes, tucking (gently) and moving here and there until you are satisfied in how it looks.

Basket full of Goodness...


Now place the red velvet hearts on each side of the center box, towards the back.  Get one of your clear basket covers and cover the basket.  You might have to mess with the tissue a bit.  Before tying off the cover, stand back and see how it looks, if you are satisfied, grab your yarn, a helper and tie it closed, very tight.

Then add what bow/bows and ribbon you like, then you are done, it is as easy as that.  This basket can be made for any occasion.  By all means add your own goodies inside, candy, cookies or a hidden present.  I promise you, the one that gets this basket, will have been given a gift they will treasure and never forget.

Valentine's Day: Part I
Valentine's Day: III

Valentine's Day Massacre:  NOT!

All photographs are the property of Denise O.  Do not use unless you get 'my' written permission. All written material is owned by Denise O, it will not be 'used' (sharing my article is different, it is acceptable and appreciated) without 'my' written permission.  Just keeping it real folks.:)

Valentine's Day: Homemade Baskets & Gifts I

Some homemade goodies or store bought ones, you can make the ordinary, extraordinary.  It only takes a few supplies, treats and a bit of your imagination.  I also included one of my tips for shipping a package to the ones you love.


Yes, It's 'almost' Valentine's Day

Yes I have taken those store bought cookies and just given them to my friends and family in the package the cookies came in but, I have found if you do just a tad bit more, you will truly be giving a gift from the heart.

I usually make some homemade goodies and at times I too buy store bought cookies, as my daughter loves one certain cookie that is made at a bakery they don't have where her and her husband live.

When you do send cookies through the mail or fed-ex them, I have a sure fire way that your cookies will not get smashed.  If you don't use these products than ask a friend/family to save these containers for you.

Pringles or Frito Lays containers, depending on the size of your cookies or delicate candies, will determine which canisters you will use.

Not all mail carriers are gentle

I started using this technique last year after the cookies I sent my Uncle during Christmas 2009 were ruined because they were all smashed.  I thought  I packed it enough with newspaper but, apparently not.  I now do not worry about the goodies I send through the mail, I know they will be received just as I packed them and all is well.

Make 'it' Pretty!

I made some peanut butter cookies, added the chocolate glaze and some sprinkles and then placed them in a Valentine tin box.  I use (regular) cupcakes paper fillers to place my cookies in, it gives it a finished look.

Yes the tin box was cute but, why not go the extra yard and make it even more from the heart.

Yes, tie a ribbon around this package, add a card and I am sure your Valentine will be very happy and impressed by your kindness.

I find that this day is not just for 'lovers', it is a time to share with all those that you love, just how much they mean to you.

If you work in a office, make up a batch of cookies and place some cookies into a Chinese take-out container.  You can find them at most department/craft/party stores.   Add some tissue paper inside before adding your cookies, it makes for a nicer looking package.

It's A Wrap!


Why stop there, wrap it up with some pretty paper, a nice bow and then, they will be surprised with the first look, then even more so with this cute tin and then the cookies.  Now come on, we can all do this and make one that you love (or even just like) feel a bit special come February 14.

On Valentine's day or even on the times you go on a date, during the rest of the year.  Just imagine how your date would feel receiving such a personal and very thoughtful gift.  I really like this package for men, it is simple yet elegant.

Peanut Butter Cookies: Easy & Delicious

Valentine's Day:  Homemade Baskets & Gifts II

Valentine's Day:  Homemade Baskets & Gifts III

All photographs are the property of Denise O.  Do not use unless you get 'my' written permission. All written material is owned by Denise O, it will not be 'used' (sharing my article is different, it is acceptable and appreciated) without 'my' written permission.  Just keeping it real folks.:)

Succotash Stew: With a Side of Barbecue Chicken

Let's be real folks, we have all picked up an rotisserie chicken from the deli of our local supermarket.  After a long day at the job, it be either in your home and/or outside of the home, you need an easy yet healthy meal for your family.  This bird really doesn't cut it...


Gotta Love Southern Cooking


I love succotash, the combination of flavors and it can be made with any type of vegetables, although the truest form contains lima beans, corn, tomatoes, peppers, okra and some spices.

My family is not a big fan of okra so I have revised this recipe a bit.  I also like mine a bit on the wet side, so this is more of a stew than an original succotash but hey, that always seems to be my way, that is, do it my way.

To me that is what cooking is all about, take a basic recipe and then make it suit you and your family's likes.

Lima beans tend to be like every other bean, bland that is, until you add some spices & goodies to the pot and then you get a very tasty yet healthy dish your family will love.  Lima beans pack in some vitamin B's, potassium, iron and magnesium.  Not to even mention the fiber that is also an added ingredient we can all use.  They are also packed with protein, as most beans are.

Hit The Pantry


I know a lot of the so called 'experts' will tell you to stay away from canned foods, always go fresh, I say, not!  There are so many low sodium products on the market, also a lot of organic canned goods that are lovely on their own but, then add a few fresh ingredients and they become great.

I have noticed that I have started to cook more and more of these stews, as times are hard for a lot of us Americans.  A stew is ideal to make a little bit of ingredients go a long way.

Yes I use both fresh and pantry ingredients, to be quite honest, as I made this recipe up, I used what I had at the time.  I had no onions so I used onion powder.  As I have stated before, go by the basics but you add what you like.  Change up the beans, the vegetables or, make it my way and I assure you, you and your family will love this easy yet healthy meal.

What You Will Need...

2 pounds dried lima beans
3 carrots
2 stalks celery
3 bell peppers (I used 2 green & 1 red)
1 can tomatoes
1 can cream corn
1 teaspoon dried thyme
1 teaspoon sage
1 1/2 onion powder
1 teaspoon garlic powder
1 bay leaf
Canola oil
Butter
1 tablespoon sea salt
1 teaspoon cracked black pepper
1 rotisserie chicken
Barbecue sauce of your choice
Bread of your choice


Plan & Soak

There are two ways to start this dish, one is to soak your beans overnight or you can go by the quick boil method.  This day I used the quick boil method.  I added my beans to a dutch oven, add enough water so the level of water is around 2 inches above your beans.  Bring your beans to a boil, cover and allow your beans to sit for 2 hours, drain your beans and place back in your pot and continue with this recipe.

If you want to soak your beans overnight than by all means do so, just drain the water and then continue with this recipe.  If you are like I am, I do most of my work around the house while all others are asleep, I always have.

Cut your veggies the night before, also go ahead and roast your bell peppers.  Place your bell peppers in a bowl, cover.  Dice your carrots and celery, place in a bowl, cover and then place both bowls in the refrigerator. This will cut down on a lot of your time once you get home from work, a day of running errands and/or just a rough day working around the house.

Do not forget to pick up that rotisserie chicken at your supermarket deli.

Start Your Dinner...


The first thing I do is take the chicken off of the bones and set aside.  Place your drained lima beans in your dutch oven and then push the chicken carcass down into your beans.  I am not adding any bacon or the usual types of meat that a lot of southern cooks place in their pot of beans, so a little chicken fat will be just fine, as they say "fat adds flavor.".

Though there is such a thing as too much of a good thing, the chicken will add flavor with very little fat, just make sure you discard the skin.


Place your bell peppers on a cookie sheet and place under your broiler and allow the skin to char, I mean turn black, turning as needed.  When your bell peppers are charred all over, place in a bowl and put a lid on it, allow them to sit while you get the rest of the ingredients ready.  This will help the skins of your bell peppers to come off so much easier.

I find it is so much easier to buy peppers in bulk (when on sale) and then roast my bell peppers this way, they can be placed in a glass bowl, covered with a bit of olive oil and then cover the bowl, place in your refrigerator.

If I do not plan on using the broiled bell peppers right away then I place a few in a sandwich baggie, after the skin is taken off and then place all the baggies in a freezer bag, store in your freezer.  Then I am able to grab one bag at a time, depending how many peppers I need.

I like millions of people watch cooking shows and after one show I watched where it called for one jar of roasted red peppers, I like most bought the jar and what I found was.  I paid over 3 dollars for one roasted pepper in that jar.  That was when I first started to do my own roasted bell peppers and the savings were huge.  If I happen to be grilling the night I go grocery shopping, I just place the bell peppers on the grill itself and do the same process, turn as the skin chars and then place in a bowl and cover with a lid, so as to steam off the skin.

Roasting also brings out the sweetness of this vegetable and makes the taste of them, twice as good.


Okay the lima beans and chicken bones are in the pot, in a small dice cut up your celery, then cut your carrots into a medium dice, place in a frying pan, on medium with 1 1/2 tablespoons of canola oil added to your pan and saute your vegetables until soft.

While your carrots and celery are cooking, add your can of cream corn, peppers (peeled & chopped), onion powder, garlic powder, sage, thyme and a bay leaf to your pot of beans.  When your vegetables are done, add to your pot, cover your beans with some cold water and bring to a boil.  When your lima beans come to a boil, place a lid on the pot and turn down to a low simmer.

You can always add more water (if needed) as your stew is cooking, as they say, "It is easier to add than it is to take away.".  


Fry & Simmer


As your beans are simmering away for the first 30 minutes, peel and dice your potatoes, add to a bowl and cover with cold water.  Place your chicken in a sauce pan and add your favorite barbecue sauce and put on a very low simmer, no lid, stirring every now and then.

In the frying pan you cooked your carrots and celery in, add a tablespoon of canola oil and on medium heat, add your tomatoes (drained, save liquid), salt & pepper and saute for 4 to 5 minutes.  This is will brighten up your tomatoes and just add more goodness.

As you are stirring your tomatoes, make sure to scrap the bottom to get all the flavor left over from cooking your carrots and celery.  Add to your pot, replace the lid and continue to simmer.

Drain your potatoes and it is even a good idea to take a towel and dry them off as much as you can.  Place in a frying pan with 2 tablespoons of canola oil, salt and pepper.  Cook on medium high, turning every now and then.

How much salt you add is up to you, I find 1 tablespoon is perfect and lots of cracked black pepper is a must with this dish.  Remember, this is your stew so add as much as you like.

Like most beans, they do not always have a set time I can give you, I have made this stew and it has taken 1 1/2 hours to cook and yet this time, it only had taken 1 hour.  I have been told by one too many southern cooks this one secret and even though some 'experts' say it is not so...

I do not add salt or anything (tomatoes) with acid to my beans for the first 30 minutes.  The wonderful southern cooks I have had the honor of being in their kitchens say not to do so, so I don't.

When something is not broken folks, just don't try to fix it.

Yes, I Will Take 'this' Chicken...


I like my barbecue chicken served as an open faced sandwich and the bread I use is a slice of french bread. I will toast my bread in a frying pan with a thin coat of butter added to one side and toast it on a medium low heat, turn the bread over (adding no butter) and toast the other side.

The butter helps cut through that heavy barbecue sauce, helps with obtaining a golden piece of french bread and the crunchy texture is perfect for the spicy, sweet and creamy barbecue chicken.

Now why settle with a boring rotisserie chicken, I must ask, when all you have to do is think ahead and you too will have a delicious, yet healthy dinner your family will love.  I will eat on this succotash stew for the rest of the week for lunch, it only gets better after each day passes.

Please check out a few of my other recipes...

1 Chicken + 2 Dishes

Grilled Teriyaki Chicken

All photographs are the property of Denise O.  Do not use unless you get 'my' written permission. All written material is owned by Denise O, it will not be shared without 'my' written permission.  Just keeping it real folks.:)